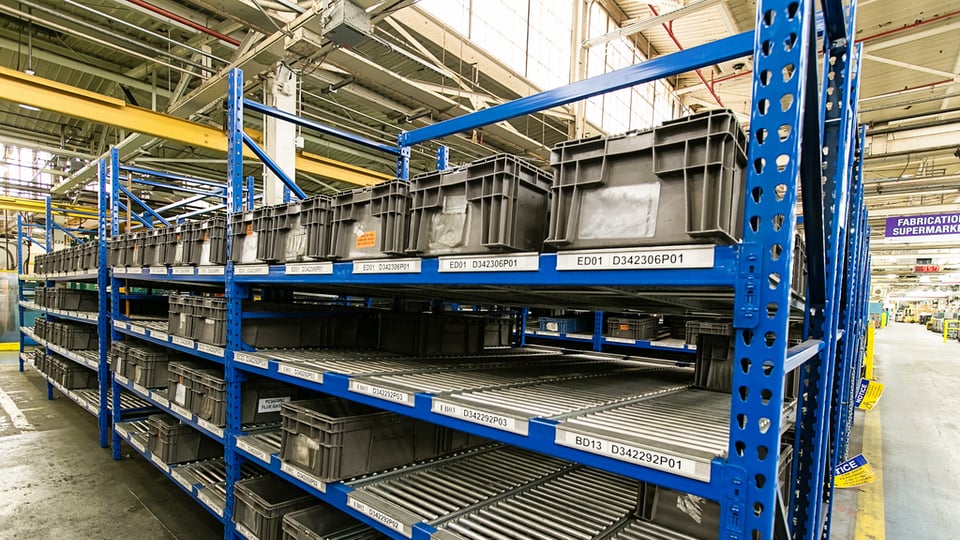
Our Roller Rack solution is designed to be assembled quickly and easily. Despite that fact, everyone needs a little guidance every now and again. Today we will go over the (very few) steps it takes to put your brand new Roller Rack solution to work.
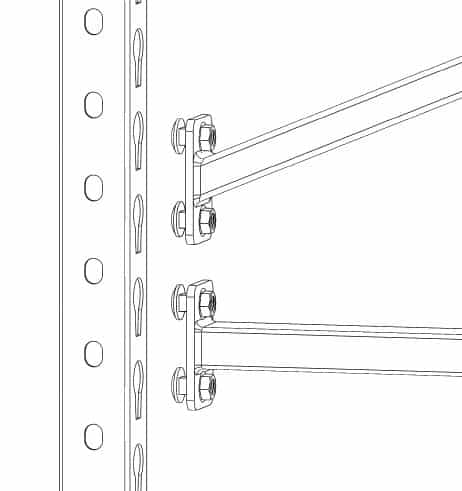
The first step is to secure the hardware. Take the carriage bolts and loosely screw them into the side braces with the heads facing out. Do not tighten all the way.

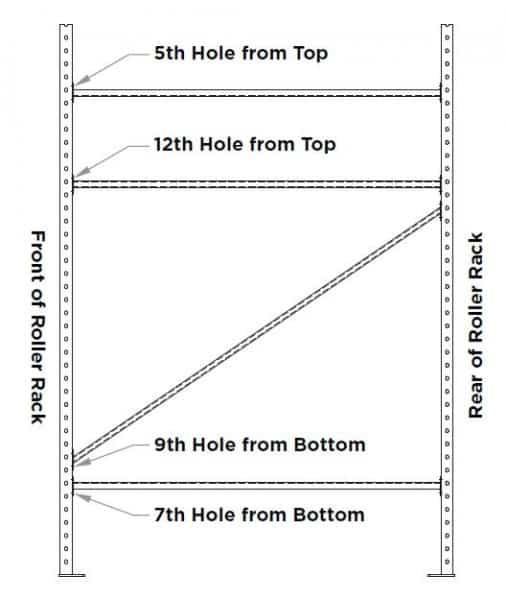
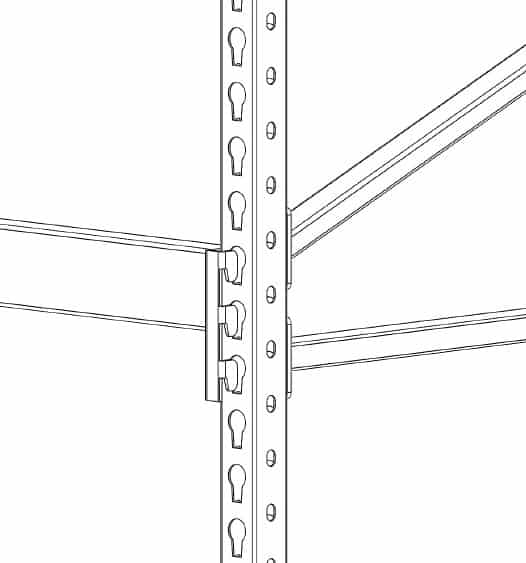
Find the proper positions for your braces. These positions are at the fifth hole from the top, the twelfth hole from the top, and the seventh hole from the bottom for your straight braces, and the ninth hole from the bottom for your diagonal braces.
Drop the carriage bolts on your braces into the teardrop holes in the posts. Tighten them with your hands, but don't tighten them all the way.
Take your beams and drop them into the desired position. Remember that each foot of rack depth translates to an inch of height difference between your front and rear beams. This will ensure optimal flow.
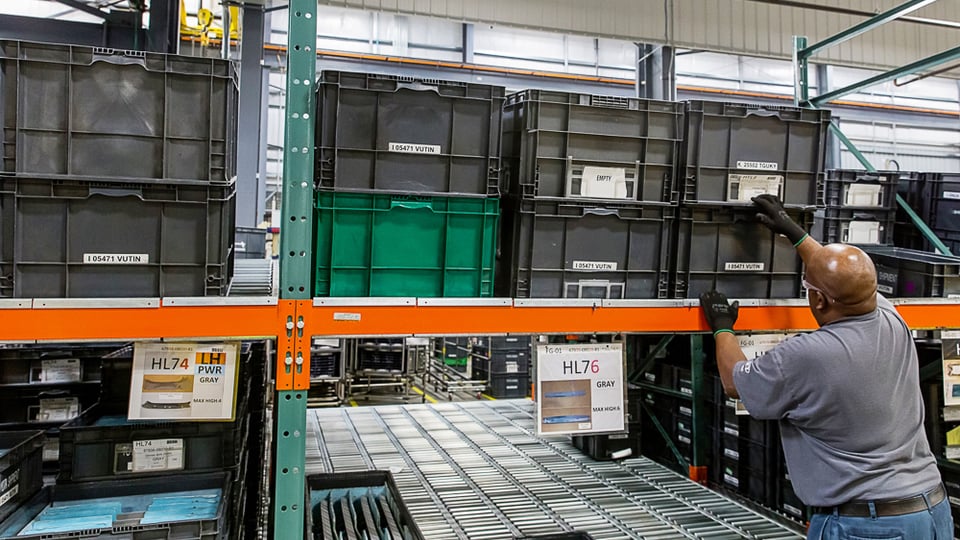
Now that the Roller Rack structure is complete, tighten up all your bolts. Finally, install your Span-Track.
It's as easy as that! Congratulations, you've just assembled a great rack and track solution from UNEX Manufacturing.